November 09, 2023
21 Homebrewing Lessons I Wish I’d Learned Sooner
We thought we’d put together a list of things we wish we’d known when we started brewing. Whether it’s something that saves you time, money, or even space in your brew cave, there are plenty of ways you can make your hobby an even better experience.
We asked Northern Brewer employees their recommendations for things they wish they’d known or purchased sooner and found answers for homebrewers at just about every level of experience. Learning from mistakes along the way is inevitable, but it doesn’t hurt to gain some wisdom from other homebrewers.
1. Read “How to Brew” by John Palmer
Just starting out in homebrewing? How to Brew covers all the important information you’ll need to know as you get started, along with the basics of brewing, techniques, recipe formulation, and more. Now in its 4th edition, you’ll dive deeper into homebrewing topics and understand how you can take control of your own homebrew.
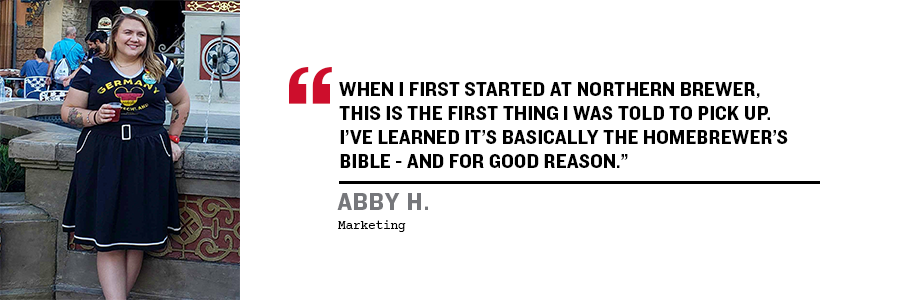
“When I first started at Northern Brewer, this is the first thing I was told to pick up. I’ve learned it’s basically the homebrewer’s bible - and for good reason.” - Abby H., Marketing

2. If You’re Brewing More than 5 Gallons at a Time, Get a Wort Pump
Trust us on this, if you are brewing more than 5 gallons at a time a wort pump is critical. Wort pumps have multiple uses depending on your setup; you can transfer sparge water into your mash, recirculate the mash, pump finished mash into the boil kettle, or pump wort through a wort chiller - all without the risk of lifting and pouring from hot kettles. Our “How to Use an Impeller Pump for Homebrewing” video covers tips and techniques for the two impeller wort pumps we carry.
Shop Wort Pumps >
3. Save Time, Get a Wort Chiller
This is a crucial step in the brewing process and if you started with small batches, you may have just put your kettle in an ice bath. This works, but it can take a long time, and isn’t as effective for 5-gallon batches. Chilling wort quickly, with a wort chiller, helps minimize the possibility of contamination by organisms that thrive in warm temperatures and allows you to pitch yeast at an optimal temperature sooner. We carry two different types of chillers: immersion chillers (in both stainless steel and copper) and plate/counterflow chillers.
Shop Wort Chillers >
4. Ditch the Bottles and Start Kegging
You’ll save plenty of time no longer sanitizing each bottle, you can skip the extra step of adding priming sugar, and honestly it looks pretty cool to have a keg of your own brew in the house when friends come over. You could start with a mini 1.75 gallon keg or go straight to 5 gallons to keep more beer primed and ready.
“Nothing makes brewing easier than kegging beer and when things are easier you do them more often.” - Charlie M., Retail Manager

Shop Kegs >
5. Your Yeast are Suffocating
Your yeast needs oxygen at the beginning of fermentation, and sure, you can shake your carboy or bucket of wort, but there’s only so much oxygen you can get into wort using air alone. The Oxygenation Kit is not only easier than agitation, it also hits the oxygen parts per million goal of 8-10ppm in a mere 60 seconds while carboy rocking will likely only get you to around 2ppm. This is a great tool for all brews, especially high-gravity beers and lagers to provide the yeast with an optimal fermentation environment.
6. Switch to All-Grain
Extract brewing has its benefits, but All-Grain Brewing gives you a lot more control over the process and the precise mix of grain that goes into making your wort. Plus there are certain techniques (decoction mashing, first wort hopping, mash hopping) that can only be done with all-grain brewing.
7. Add Yeast Nutrient
There are multiple yeast nutrient options with different purposes, but essentially these help your yeast grow and complete fermentation. Yeast Nutrient ensures yeast remains healthy throughout fermentation and is recommended for wine, mead, and cider - while WYEAST Brewer’s Choice enhances yeast viability for beer.
8. Save Time with a Bottle Rinser
As we stated above, you should really really start kegging. But if you are going to bottle, you can significantly cut down your bottling time with a Bottle Rinser, raved about by employees and customers. This little reservoir with a self-priming pump shoots a stream of sanitizer solution, sulfite solution, or rinse water when a bottle pushes down on the nozzle. Makes sanitizing easier, faster, and overall is way more efficient than dumping bottles in a sink full of StarSan.
9. Get a Floor Corker
If you are making wine, and don’t have a Floor Corker, you’re doing it wrong. Bottle your wines with considerably less elbow grease by using a floor corker. These are suitable for hobby or small-scale winery use, and make short work out of even the largest batches of wine. And since your 6-gallon batch makes about 30 bottles, a powerful floor corker is well worth the investment.
10. Skip Kettle Souring
No more kettle souring! In one simple fermentation step, you get moderate amounts of lactic acid for a sessionable sour beer with notes of red apple and stone fruit. With high attenuation, high flocculation, and good head retention, Lallemand WildBrew™ Philly Sour is ideal for styles such as Berliner Weiss, Gose, American Lambic Style, American Wild Ales and its resistance to hops makes it perfect for Sour IPAs.
11. Control Your Fermentation Temp
We’ve seen your blanket-wrapped fermenters and we’re going to be honest, that’s probably not cutting it. But you can control the most important variable in making beer with the Northern Brewer Dual Stage Temp Controller. Wrap your brew in the warmth of the electric fermentation heater, dial-in the exact temperature you need, and let your yeast do the rest.
“Made fermentation go by smoothly when we had subzero temperatures back in February.” - Marie P., Customer Service

12. Eliminate Wine CO2 ASAP
Improving the quality of your wine doesn’t have to cost tons of money or take up more time. In fact the Express Wine Degasser saves you time. Just whirl this magic wand (with the help of a drill) in your wine and you’ll rapidly eliminate excess CO2 in less than 10 minutes on any batch size. It’s the easiest, fastest, and most reliable tool for degassing your wine at home - plus it’s a tool that’ll barely take up any space.
13. Warm Your Extract for Easier Pouring
Extract brewing is a wonderful way to make homebrewing a breeze and one small way to make this even easier is to warm your bottle of malt extract syrup before pouring. Place the closed, sealed jug in a sink or bucket filled with warm/hot water and let it soak while you start your brew day. This will soften the Liquid Malt Extract, making it much easier to pour.
“Nothing is more annoying than trying to pour dense, cool syrup and having to scrape it out when it sticks to the sides of the jug.” - Chip W., Marketing

14. Keep a Few Spray Bottles On Hand
One of the simplest tips - but one that multiple employees recommended. A Spray Bottle makes for simple and to the point sanitation. Be sure to label each and fill one with clean water for battling potential boilovers (spritzing the surface can help ease a tumultuous boil) and fill another bottle with StarSan for quick surface sanitizing of spoons, yeast packs, thermometers, etc.
15. Ditch Carboys for Siphonless Fermenters
Siphonless Fermenters aren’t just easier to use, they’re also better for your beer. Without opening the lid to insert an auto-siphon, you’ll fight oxidation and contamination. Just turn a valve and you’re all set to bottle. You’ll even avoid the trub that’s settled below the spout.
“I do not miss pumping 5 gallons of beer into my bottles. Using a spigot is so much easier, faster, and more accurate.” - Catherine J., IT

16. Keep Extra Ingredients Around
Random mishaps can occur on brew day and you don’t want to be stuck with a yeast that’s not fermenting or a gravity that’s way off. Having extra US-05, S-04, corn sugar, and light DME on hand can quickly save these issues.
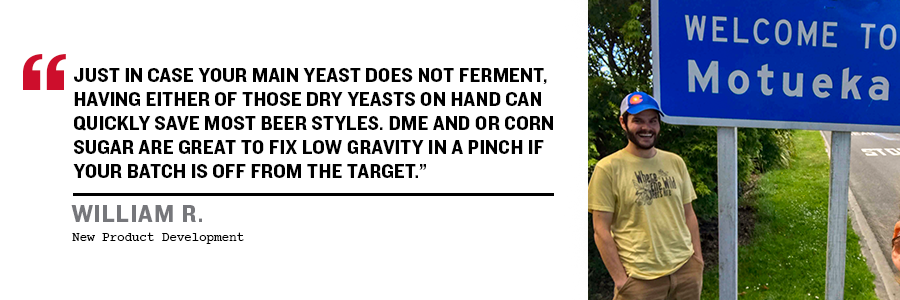
“Just in case your main yeast does not ferment, having either of those dry yeasts on hand can quickly save most beer styles. DME and or corn sugar are great to fix low gravity in a pinch if your batch is off from the target.” - William R., New Product Development

Shop Ingredients >
17. Split Batches
Experiment, experiment, experiment! This goes for wine, beer, or anything you’re fermenting. Make a 5-gallon batch and then split it into smaller batches post-boil with different dry Hops in secondary, Fruit Additions, levels of charred Oak, etc. It’s a great way to see what you like and don’t like without “wasting” a whole batch.
18. Make Yeast Starters, Seriously Do It.
A Yeast Starter is essentially an aerated sugar solution that allows your yeast to eat, grow, and reproduce. Why does that matter? The more yeast cells, the less stressed they are trying to do their job. Under-pitching your yeast (not having enough cells) can lead to stuck fermentations, stressed yeast producing off flavors, or increased lag time where bacteria could take over. Making a yeast starter, especially with the Yeast Health Kit is as easy as a pop of the top, a push of a button, and a turn of a valve.
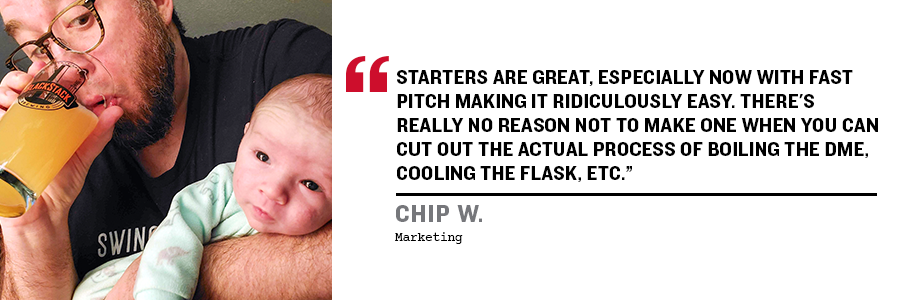
“Starters are great, especially now with Fast Pitch making it ridiculously easy. There's really no reason not to make one when you can cut out the actual process of boiling the DME, cooling the flask, etc.” - Chip W., Marketing

19. Add Your Own Flair
Take a base style recipe and try adding a little bit of something unique to see what the result is. There’s no limit to flavor profiles, you can choose vanilla, lavender, coriander, orange or lemon peel, grains of paradise, peppercorns, or any number of Spices. But the key is to go easy at first so you don’t overpower your beer - you can always add more later, but you can’t take any back once it’s there. You may find great ideas by reading reviews of some of our kits; customers love sharing how adding vanilla and orange peel to a Cream Ale resulted in a dreamy Creamsicle flavor or adding lavender to a Saison made their Spring beer even more perfectly seasonal.
20. Becoming a Homebrew Pro? Try a New Fermentation!
You’re nearing the end of this list and feel like you already do all of these things and own all these Gadgets? It may be worth considering adding more variety to your brew cave, or cellar, with wine, hard cider, or hard seltzer kit. You likely have all the equipment needed for these new recipes and it’s super easy to fit into your brew day during steeping or mashing.
21. Keep on Brewing
Like any hobby, you’ll probably make mistakes. And that’s okay! Just about every homebrewer has had a boil over, added the hops at the wrong time, used way too many adjuncts, or messed up in another way (and probably drank the beer anyway). Every mishap will be a learning opportunity and the key is to keep brewing and getting more experience.
“So much of what I've learned in the last few years (made slower by the pandemic and not having events/collabs to go to) has just been a by-product of messing up and doing things differently.” - Catherine J., IT

That “aha!” moment or holy grail piece of equipment is different for everyone, but hopefully these tips help for wherever you are in your homebrewing journey or can come in handy for the one time you’re able to turn the tables and give dad some sage advice.
Begin or continue your homebrew education with Northern Brewer University and our Homebrew Video Courses.
