October 15, 2019
How to Build a Brew Cave

The Brew Cave: the crown jewel of the homebrewer's humble abode. More useful than the Man Cave, less dangerous than the Bear Cave, and containing fewer Bruce Waynes than the Bat Cave, the Brew Cave is your home within the home. A sanctuary from any side-eye family members might throw when you show up in the kitchen with a glass carboy and a giant vat of boiling sugar water (aka brew kettle).
Above all, the Brew Cave is where the magic happens. It's a designated space for you to make beer (and drink beer, if you so choose), and a genuine reflection of your own style. You're limited only by your imagination... and a few safety requirements.
Below, find a guide to building your very own Brew Cave.
The Bucket Phase
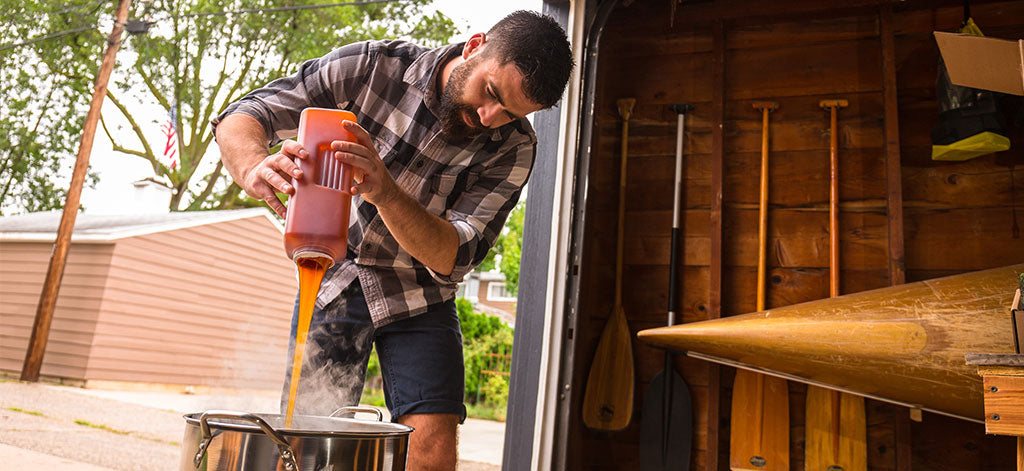
The apple-cheeked spring of your homebrewing youth. At this point, you probably don't have a designated Brew Cave. You have a brew bucket and a carboy and a five-gallon stockpot. Luckily, homebrewing happens absolutely everywhere. Your home is your canvas, and you can paint it however you like.
Don't believe us? Listen to this NB employee's origin story:
"I started brewing in my college dorm. We boiled wort in the communal kitchen, then fermented in the pint-sized closet in my room (clothes were stored on the floor, in case you were wondering). In the tiny fridge lived a crappy mini-keg system, and those work-study checks got turned into malt syrup, hop pellets, and brewing books with the reflexive quickness of an addict. Eventually I was even propagating yeast starters on my desk."
This brewer's story exemplifies two key aspects of the Bucket Phase. First, creativity: anything is possible in brewing if you're willing to get a little crafty. And second: infatuation. You start with just one batch, but before you know it, you're waist-deep in wort, trying to convince yourself that, yes, it is a sane and rational decision to spend your money on recipe kits instead of regular food. It's only logical.
And oh, what wonderful logic it is.
1. Choose where you want to brew beer.
Once you start to build your Brew Cave in earnest, the first decision you have to make is where it should go. Location will depend upon the style of brewing you plan to do. If you're working with an open flame, you absolutely must choose a fire-safe location, like the garage, porch, or driveway. Going electric opens up a few more possibilities. You can safely brew anywhere with a window to crack.
Think about the long-term. If you can see this hobby growing into something more like an obsession (as it does), choose a space you can truly make your own, like a shed, empty corner of the basement, or unused garage space. Once you start adding fun gadgets, it's hard to stop.
2. Build around the essentials.
What is the focal point of any brew space? The kettles, of course! While carboys can be stored almost anywhere with proper temps, the arrangement of your kettles dictates the layout of your Brew Cave. If you have the space and the necessary hardware, you can brew horizontally to really give your gear room to shine:
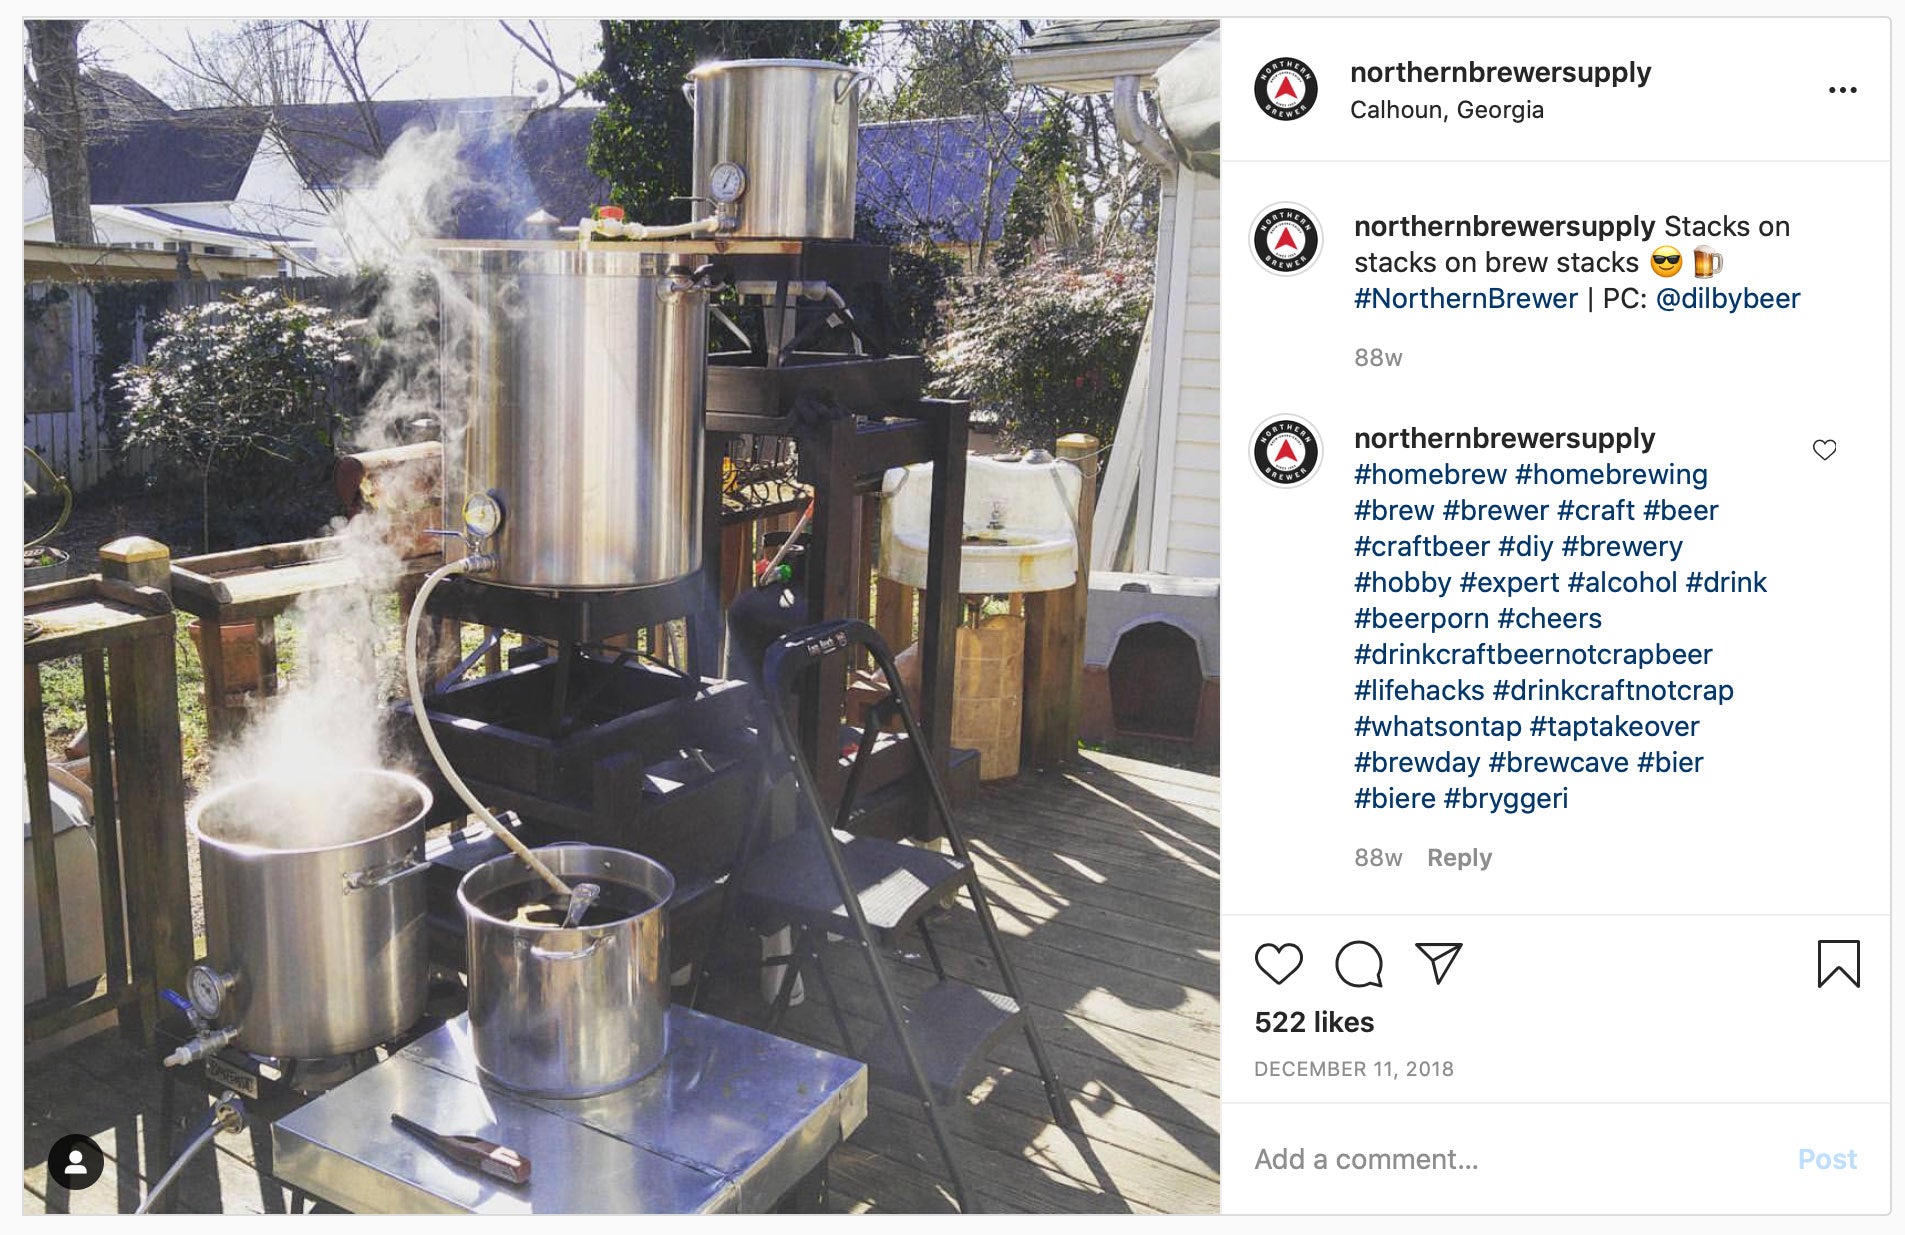
Or, for tighter squeezes, let gravity do some of the work by creating a tiered brewing system. The Blichmann Command Stand is an awesome option if you want to go vertical. Vertical brewing works both inside and out, as in the example below:
3. Finesse with the fun stuff.
Once you've established a solid base, you can start playing around with upgrades and additions.
The layout of your Brew Cave will shift based on your needs. For example, if you're all about staying tidy, you'll want a good system for organizing grain, hops, and other ingredients (but remember that liquid yeast needs to be refrigerated!). Shelf displays double as both organization and decoration. Likewise, if bottle storage is a headache, it might be time to invest in a FastRack. And so on.
4. Pimp it out.
Brew Cave decorations run the spectrum of anywhere from sparse to downright outrageous. Your own personal style plays a role, obviously, but so does functionality.
Some go so far as to build entire home bars around their Brew Caves, such as the sexy electric set-up below. This brewer lets visitors admire their tanks and kettles from behind the bar, much like many great breweries do:
The direction you choose will depend upon how you plan to use your Brew Cave. Are you just going to brew in there? Do you also want to be able to host friends? If so, consider investing in a keg system for serving them. Speaking of which...
5. Add a keezer.
If you were to ask almost any brewer what gadget was highest on their bucket list, they'd probably say a keg system of some sort. Not only is pouring homebrew on tap cool as hell, it also makes your life way easier. (If you want to learn how, read this.)
Kegerators are the easiest way to get your homebrew on tap, but they aren't exactly budget-friendly. The solution? The keezer: a one-size-fits-all project that turns any freezer or cooler into your own personal taproom. Learn how to build a keezer here.
6. Consider going electric.
Remember when we said that electric brewing opens up a world of possibility when it comes to Brew Cave locations? Well, that isn't all that going electric does for you. Its innovative automation also enables greater consistency between batches, giving you a sturdier base from which to experiment with new recipes.


