January 22, 2020
How To Grow Hops from Rhizomes

Grow your own hops! We're here to help you make your beer YOUR beer. From growing your own hops to brewing your own beer.
THE 6 STEPS OF GROWING YOUR OWN HOPS: (Click the step to jump down the page)
1. How To Plant Hop Rhizomes |
2. How To Maintain Hops |
3. How To Harvest Hop Cones |
4. How To Dry Hop Cones |
5. How To Store Hop Cones |
6. How To Use Your Hops |
Step 1: How To Plant Hops
Hop rhizomes are root cuttings of the hop bine; plant in well-drained soil with plenty of sun and room to climb, then harvest and dry the flower cones in late summer for your brewing pleasure!
Hop rhizomes are shipped directly from the hop grower as soon as the soil is workable in the spring (usually mid-April, depending on the weather). You can order your hop rhizomes right here on our site.
How to store hop rhizome and when to plant hop rhizomes
After you receive your rhizomes you'll want to keep them refrigerated until the soil is ready for planting. Do not let rhizomes get completely dry, and do not keep them too wet. To keep rhizomes moist, mist them regularly.
Plant the hop rhizome once the soil is workable. Hops can normally survive a frost, so long as the ground does not freeze solid. Your hop bines should ideally break ground with the first spring flowers. Check out our hop rhizome FAQ to see when your region should ideally plant the rhizomes.
Where to Plant Hop Rhizomes
Choose a good location for growing the hops. Hops prefer a southern exposure, with as much sunlight as possible. Hops thrive in light-textured, well-drained soil with a pH of 6.0-8.0. If drainage is a problem, you may build mounds using the surrounding topsoil mixed with organic matter. Urban growers should ensure the hops are not in the immediate vicinity of a strong 24-hour light source, as this will prevent flowering.
Planting the Hop Rhizome
- Dig a hole about one foot deep. To fertilize, mix the soil with manure with our slow-release organic fertilizer. Or use such fertilizers as cottonseed meal, bone meal or rock phosphate. Return the fertilized soil to the hole.
- Plant the rhizome horizontally about 1-inch below the surface of the soil. Rhizomes can also be planted vertically, with the buds pointing up.
- Separate different varieties by 5 feet to prevent tangling. You can plant hops of the same variety as close as 3 feet.
Give your rhizomes a large first-year boost with Asco Root™ Rhizome Root Growth Enhancer!
Asco Root is a granular slow-release extract of cold water seaweed (Ascophyllum nodosum). It greatly helps to aid in root growth and set, stress tolerance, and overall plant health while providing a strong potassium source. It has shown exceptional yield increases in field trials and provides a great head start to help first-year rhizome planting. You will receive a bag to cover the volume needed for 5 rhizomes, and it should be planted in the hole with your rhizomes when planting.
Step 2: How To Maintain Hops
Maintaining The Hop Bines
First-year hops have a minimal root system, and the soil should not be allowed to remain dry for prolonged periods. Frequent, short waterings are best. You may also mulch the soil surface with organic matter to conserve moisture and control weeds.
After the hop bines are one foot long, select the heartiest 2-3 bines and wrap them clockwise around a trellis or support. Need hop bine twine? Prune all subsequent bines from the base of the hop.
Hop Bine Trellis / Support System
For the first year, the support system can be a thin 8-foot stake. In subsequent years, you will need a taller support system. In comparison, a commercial trellis is 18 feet tall. Home growers can use a shorter trellis of 10-12 feet. You may also drop hop twine from a tree, pole, or house roof. Ensure the twine is taut and strong, as mature hop bines are quite heavy.
Growing Hops - Subsequent Years
Hops will die back to the permanent rootstock (crown) each fall. The crown is hearty and relatively unaffected by even the deepest winter freeze. Hop bines break ground at about the same time the earliest spring flowers appear. Hops grow back much stronger after they have developed a good root system. Prune the earliest shoots back to the ground to encourage heartier second growth. If the worst happens to your hop bines, try again! Make sure to read our article on how to grow hops.
Step 3: How To Harvest Hop Cones
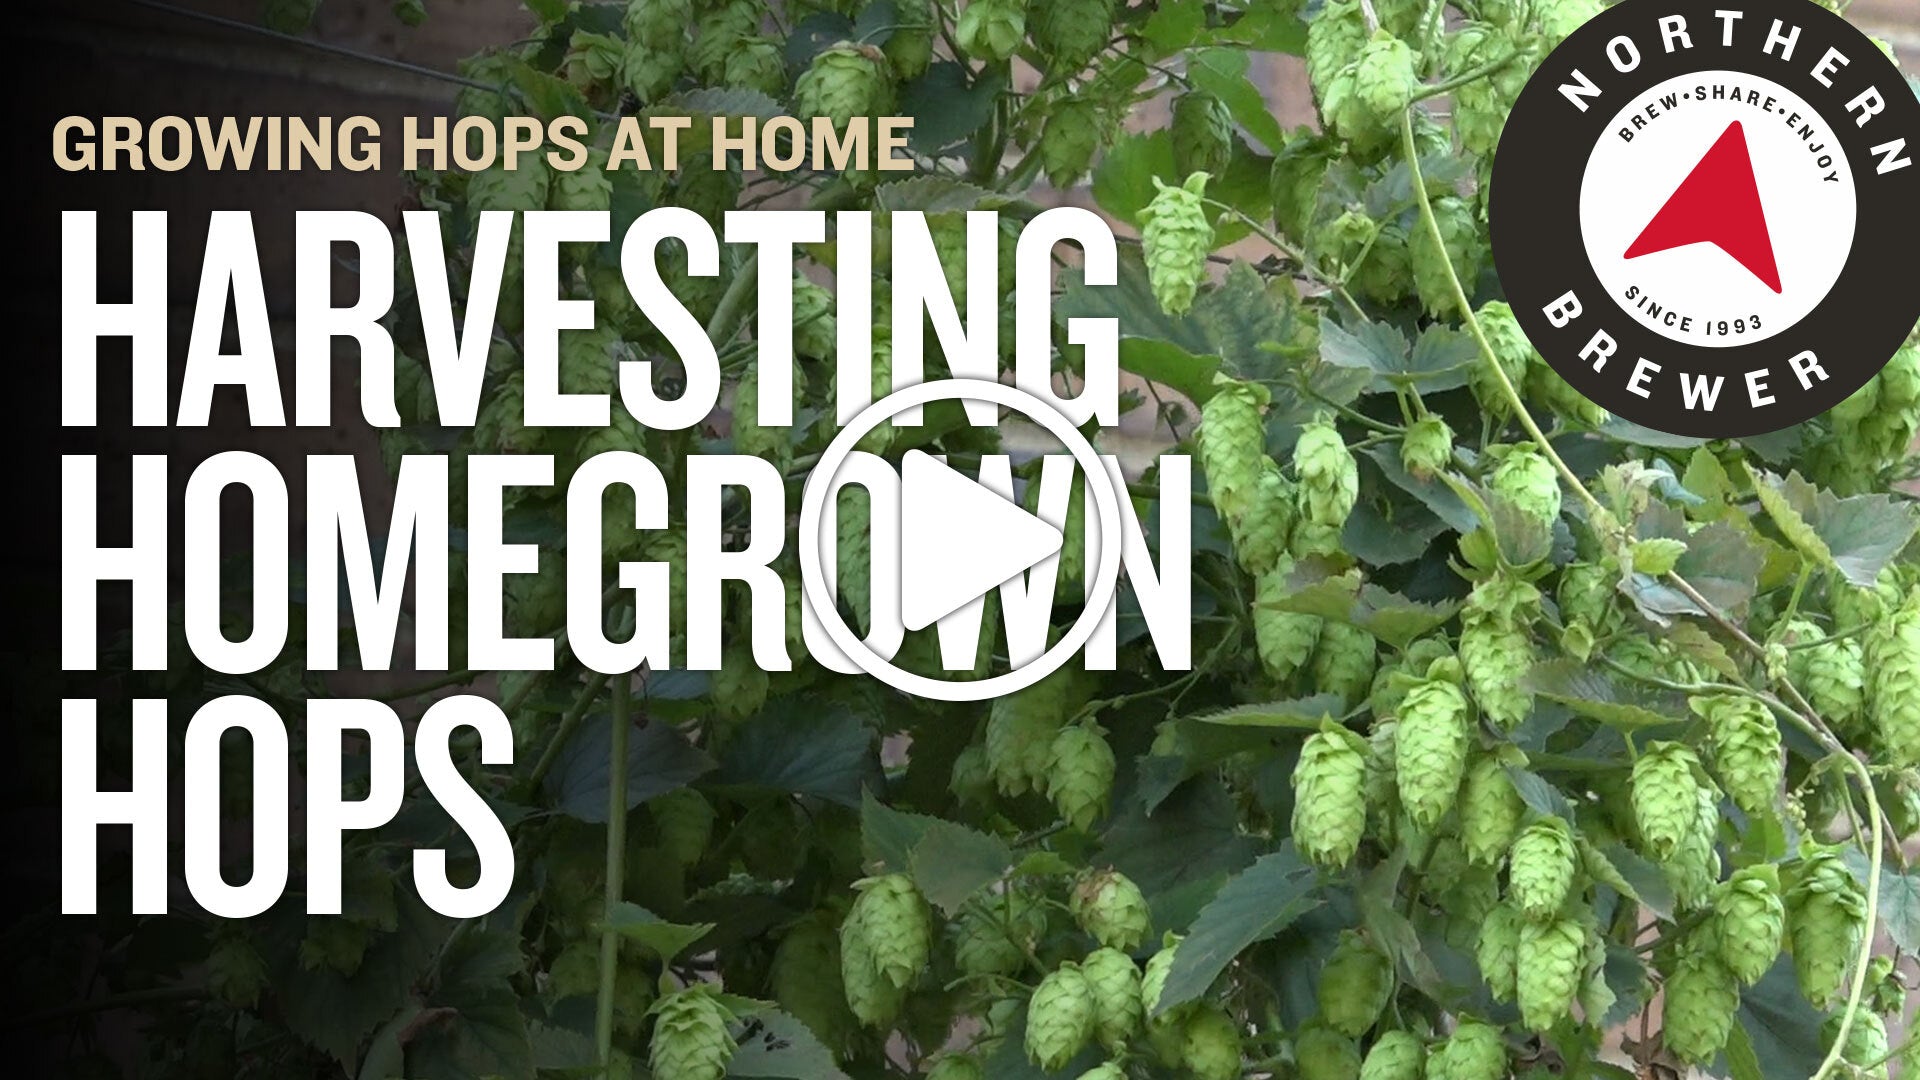
Hops should be harvested before the first frost. The actual date will vary depending on your location, but mid-August to mid-September is most common.
Hops are ready to harvest when the aroma is strongest. Test the aroma by smelling a crushed hop cone. As you squeeze a mature hop between your fingers, you should notice a yellow powder from the lupulin glands. Ripe cones will feel dry and papery. With some varieties, the color will be lighter. Slight browning of the lower bracts of the cone is normal, and a good sign of maturity.
Lower the hop bine to the ground to begin the harvest. Pick only the cones, not the leaf material.
Step 4: How To Dry Hop Cones
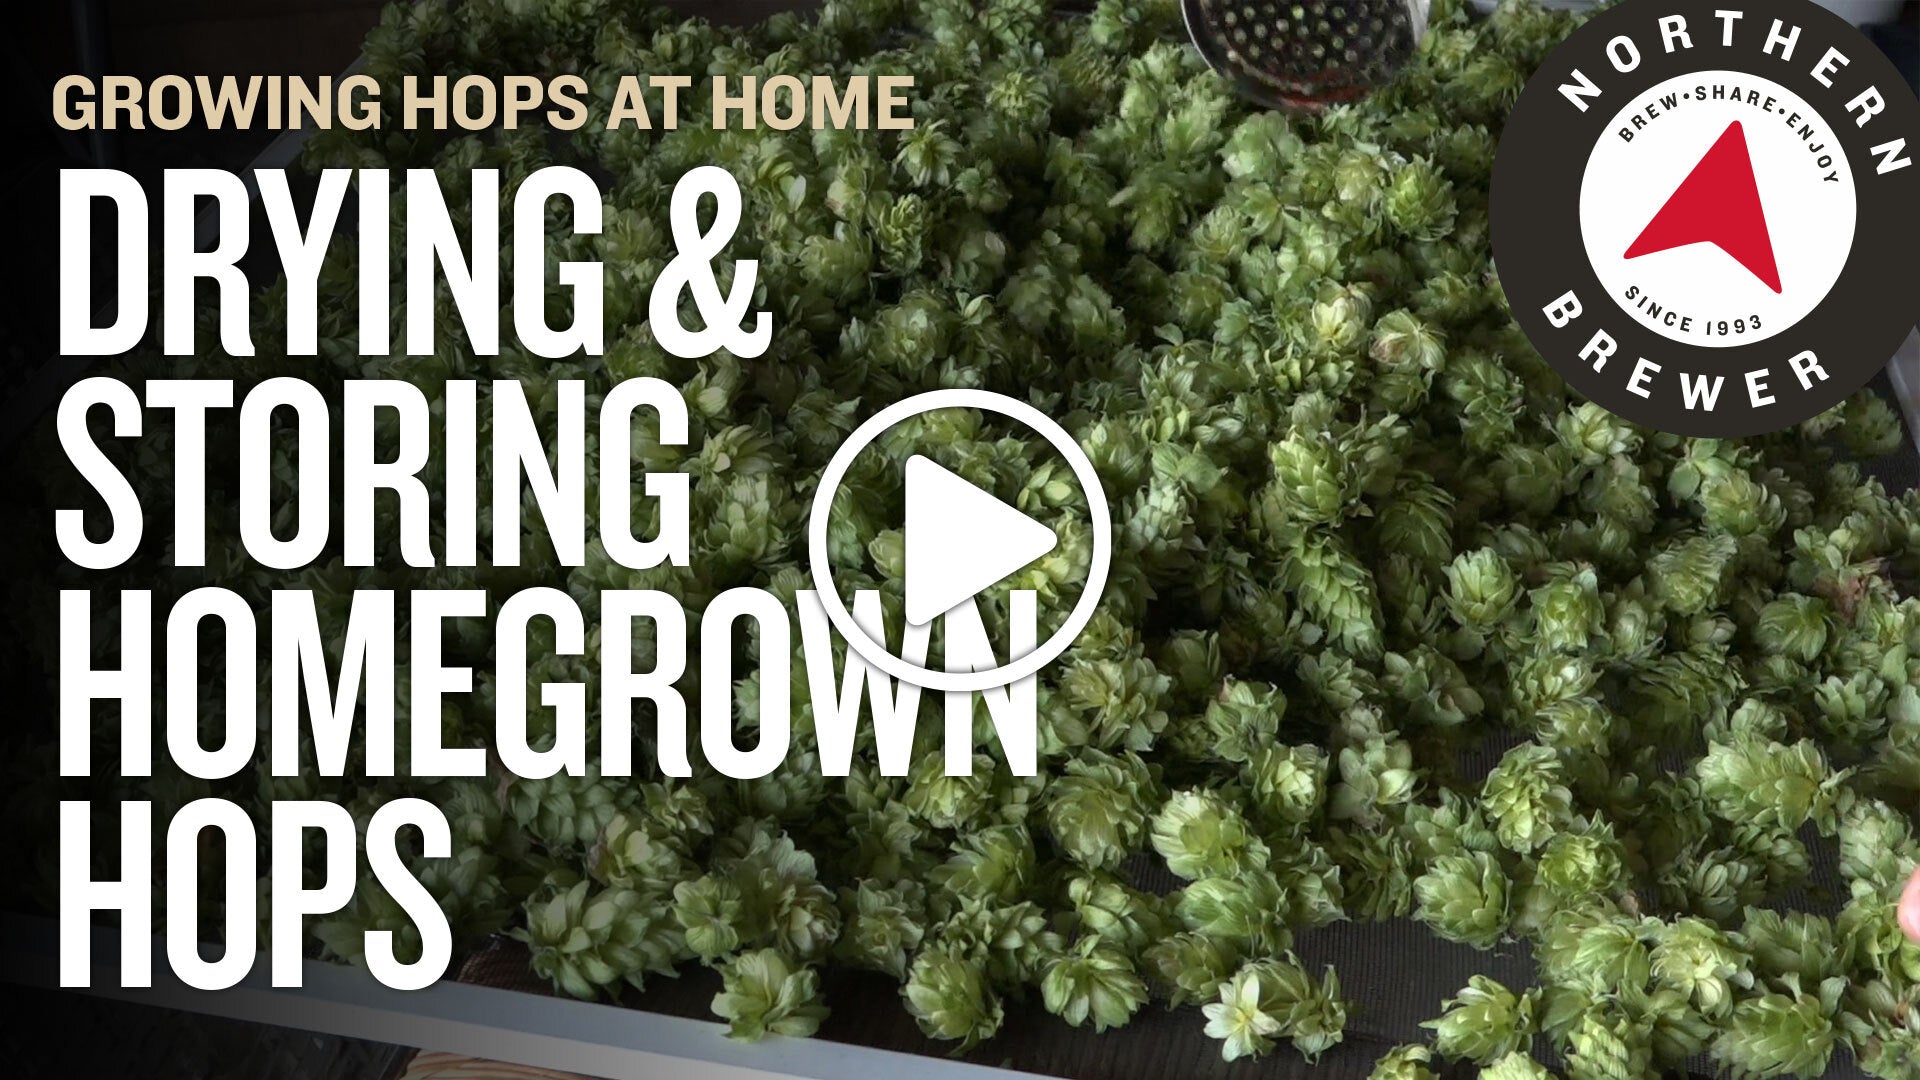
Dry hops before usage or storage. In dry weather, air-drying is preferable. Spread them shallowly onto a window screen, and keep them out of direct sunlight. Every day you should “fluff” the hops to bring moist hops to the outside of the pile. The hops are dry when the inner stem of the hops is brittle. It should break rather than bend.
If you must dry hops with a food dehydrator or in the oven, keep the temperatures under 140 degrees.
Step 5: How To Store Hop Cones
Store hops away from oxygen. Most home growers don’t have access to oxygen-barrier bags and vacuum sealers, so the best compromise is to pack as many hops as possible into a ziplock-style freezer bag. Squeeze them tight to remove as much air as possible and seal the bag. Store hops frozen until used.
Step 6: Using Your Hops
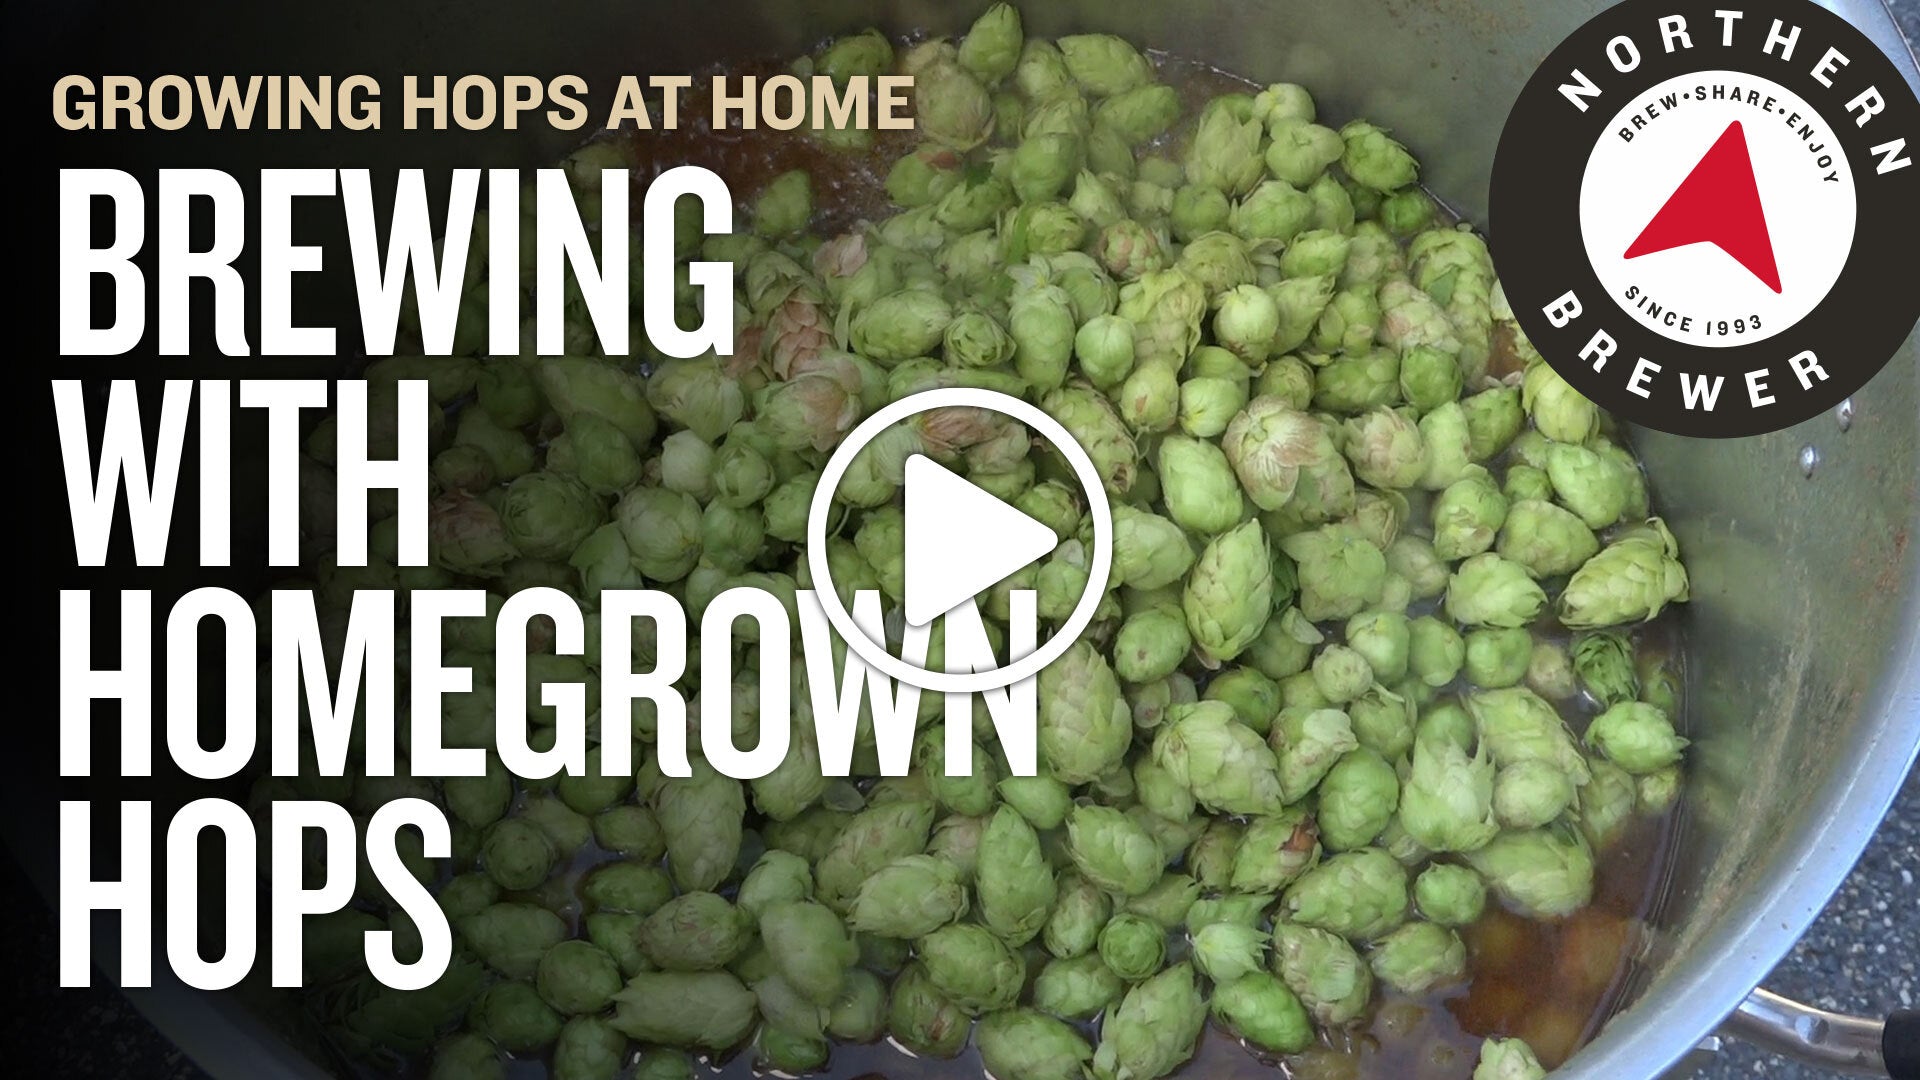
Homegrown hops are typically used for aroma, flavor or dry hopping. Since precise alpha acids are not known, it is a challenge to use them for bittering. A few test batches may be necessary to get the feel for the potency of the hop. Use homegrown hops in the same quantity (by weight) as commercial hops. Leaf hop utilization is about 15% less than pellets. If you need to supplement your homegrown hops, Northern Brewer has all the hop varieties you need. A couple of good baseline beers to use for your wet-hopping are the Mighty Axe Zenia IPA or the Chinook IPA.
Order Hop Rhizomes today.
Watch these videos on rhizomes to learn more:
Read More About Growing Hops:
Guidelines for growing hops at home (PDF)
Growing Hops - Diary of a first-time hop grower
Growing a Hop Garden - A family's history of growing hops and 'how-to'
Harvesting Hops - A guide on what to do during harvest
How to Harvest Hops - Scientifically determining when to pick hops
Begin or continue your homebrew education with Northern Brewer University and our Homebrew Video Courses.


